Winking eye drawing at getdrawings
Table of Contents
Table of Contents
Do you want to learn how to draw winking eyes in a few simple steps? Then, you have come to the right place. Whether you are an artist or a beginner hoping to refine your skills, drawing winking eyes can be challenging. But don’t worry, with a little guidance, you can learn to draw captivating winking eyes that create a sense of intrigue and playfulness in your artwork.
What are the common difficulties people face when learning to draw winking eyes?
Many people find it challenging to draw the shapes and proportions of the eyes accurately. Creating the perfect balance between the size, shape, and position of the eyelids requires practice and attention to detail. Additionally, it can be tricky to capture the emotion and expression of the winking eye, ensuring that it looks natural and lifelike.
Here’s how to draw winking eyes in five easy steps:
Step 1: Start by drawing the outline of the eye using a light pencil to avoid visible lines. Ensure that the top and bottom of the eyelids are parallel to each other.
Step 2: Draw the iris and pupil at the center of the eye. Make sure that the iris is smaller than the height of the eye’s outline.
Step 3: Draw the upper eyelid, making it thicker towards the outer corner of the eye. The lower eyelid should have a similar thickness to the upper but should be drawn as a simple curve.
Step 4: Draw eyelashes by making soft strokes along the upper eyelid. You can also add a few lashes to the lower lid.
Step 5: Finally, draw the wink by lowering the upper eyelid and narrowing the eye’s width. Add a crease to the eyelid and eyelashes to make it look more realistic.
Conclusion of how to draw winking eyes:
Mastering the art of drawing winking eyes is a fun and rewarding experience. By perfecting the shapes, proportions, and expressions of the eyes, you can create captivating and interesting artwork. Practice the steps outlined above, and with time and patience, you’ll be drawing beautifully winking eyes like a pro. So grab your pencil and paper, and let’s get started!
How to draw winking eyes and its impact on your artwork?
For me, learning to draw winking eyes has had a significant impact on the emotional depth of my artwork. Adding a playful and mischievous expression to my characters has allowed them to connect better with my audience.
Once I learned to draw winking eyes properly, I began to experiment with different emotions and expressions, and my artwork became more versatile and engaging.
If you’re looking to take your artwork to the next level, I would highly recommend mastering the art of drawing winking eyes.
How light and shadow create depth in winking eyes?
Light and shadow are instrumental in creating depth and realism in winking eyes. Properly using light and shadow in your artwork adds dimension to your drawing, making it look more lifelike.
For example, by using darker shades near the eyelashes and blending them into lighter shades near the iris, you can create a sense of depth and three-dimensionality in your winking eyes.
Additionally, by adding highlights to certain areas of the eye, such as the iris, you can create a shimmering effect. This intricate use of light and shadow adds detail and complexity to your artwork, making it stand out.
How to draw eyelashes and eyebrows for winking eyes?
Drawing eyelashes and eyebrows for winking eyes requires attention to detail and a steady hand. When drawing eyelashes, make sure to use soft, fine strokes to create a natural look. Additionally, vary the length, curve, and thickness of the lashes to create depth and texture in your artwork.
When drawing eyebrows, consider the expression of the winking eye. Winking eyes typically require a playful, mischievous, or seductive expression, and the eyebrows should reflect this emotion. Use soft, flowing strokes to create a curved, relaxed eyebrow shape.
Question and Answer:
Q: How do you make the wink look natural?
A: To make the wink look natural, ensure that the eyelid is lowered and covers a portion of the iris. Additionally, add a crease to the eyelid to give it depth and dimension.
Q: Is it better to use pencil or pen when drawing winking eyes?
A: Pencil is better suited for drawing winking eyes as it allows for easy correction and easier blending of shadows, highlights, and other details.
Q: What is the ideal size for winking eyes in a drawing?
A: The ideal size of the winking eye depends on the context and purpose of the artwork. Typically, the height of the eye should be around 1/5th the height of the face’s outline.
Q: How do you create a seductive expression in a winking eye?
A: To create a seductive expression, draw the eyebrow upwards along the arch, and the eyelashes should be slightly longer than usual. Additionally, draw the mouth in a half-smile, with a slight upward curve in the corner.
Gallery
40+ New Ideas Eye Drawing Winking #drawing #eye | Eye Drawing, Eye

Photo Credit by: bing.com / winking skueche
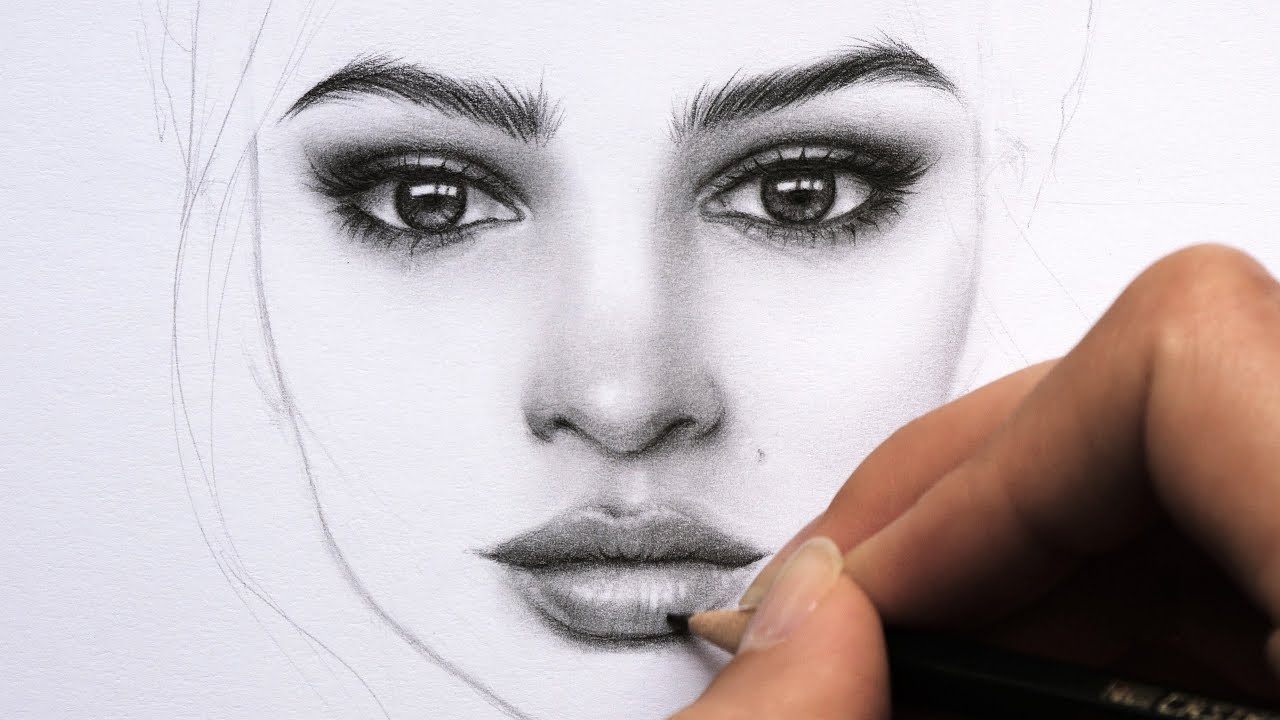
Winking Eye Drawing At PaintingValley.com | Explore Collection Of

Photo Credit by: bing.com / draw eye drawing step realistic winking eyes pencil drawings eyebrows easy eyelashes parent creepypasta scenarios paintingvalley meifwa
Winking Eye Drawing At GetDrawings | Free Download

Photo Credit by: bing.com /
Winking Eye Sketch At PaintingValley.com | Explore Collection Of

Photo Credit by: bing.com / winking eye sketch paintingvalley sketches
Winking Eye Sketch At PaintingValley.com | Explore Collection Of

Photo Credit by: bing.com / draw eye winking sketch realistic eyes step natural paintingvalley eyelashes